Week #11

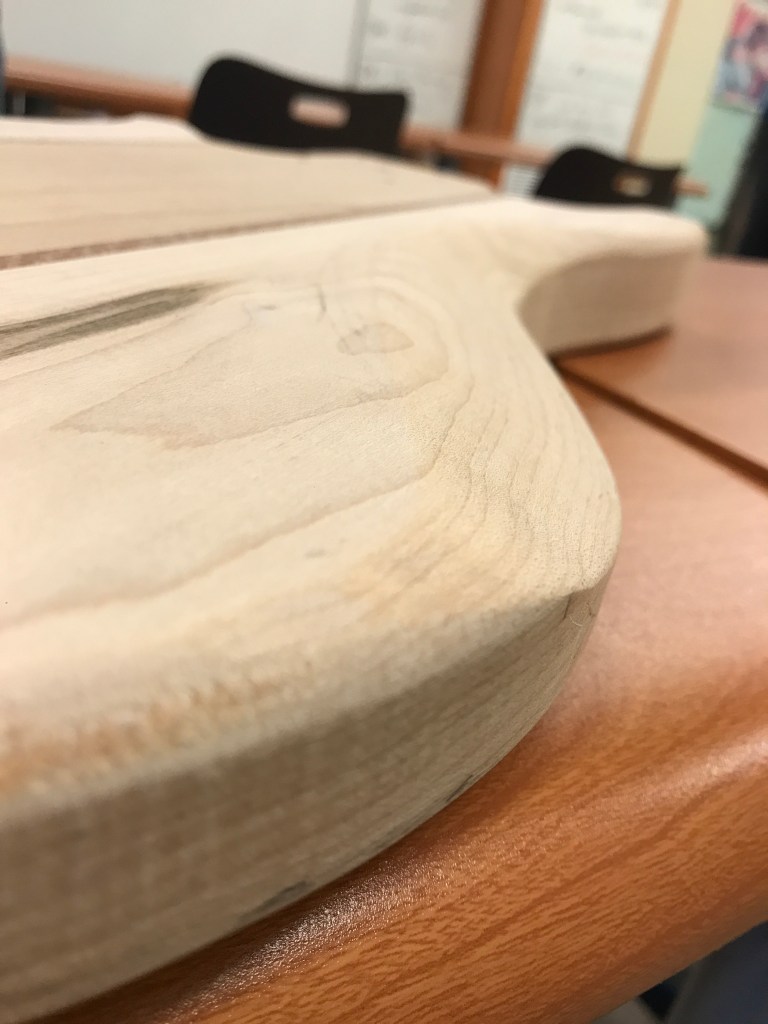
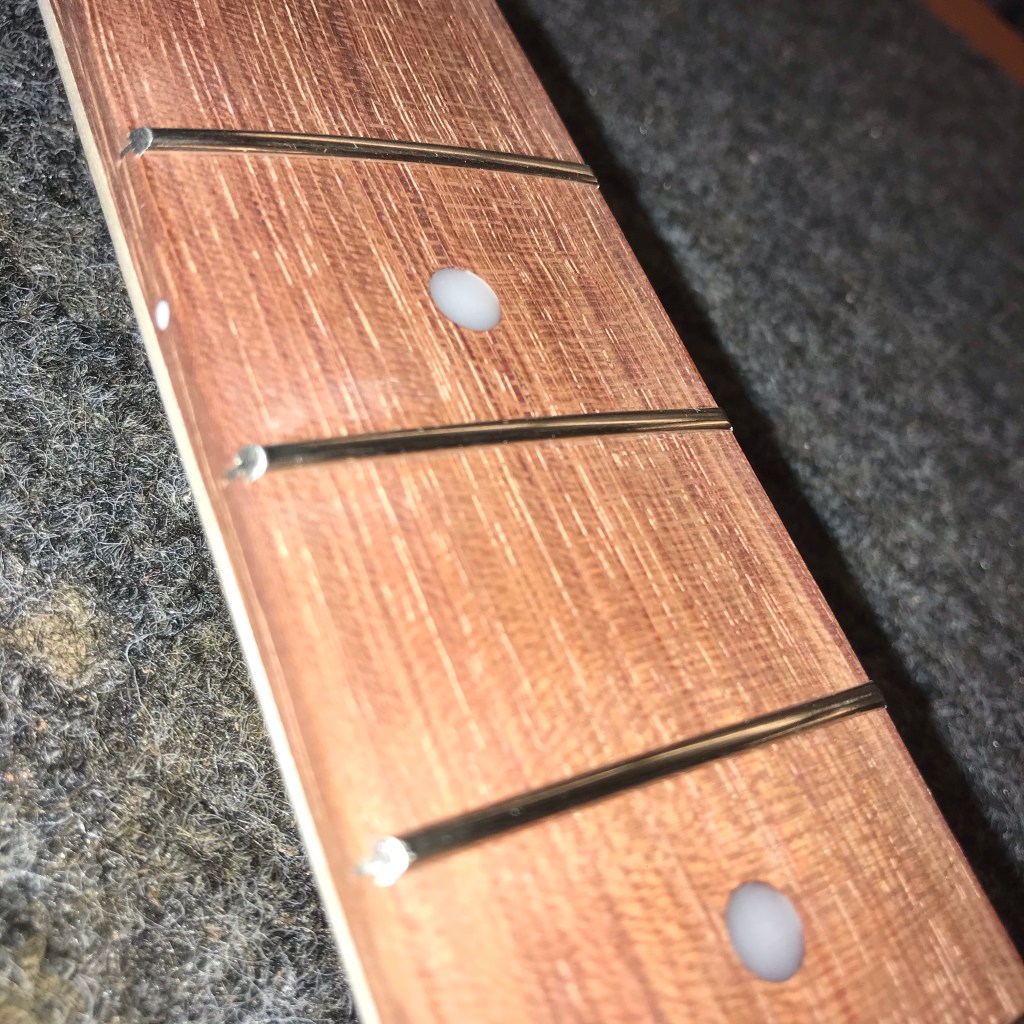
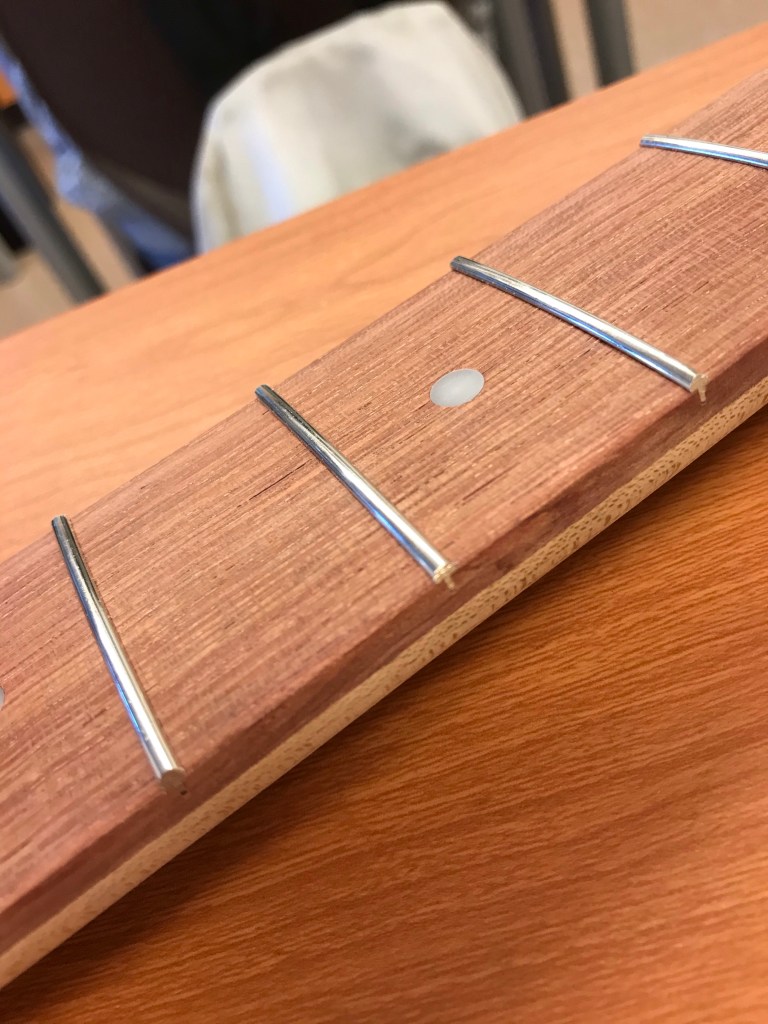
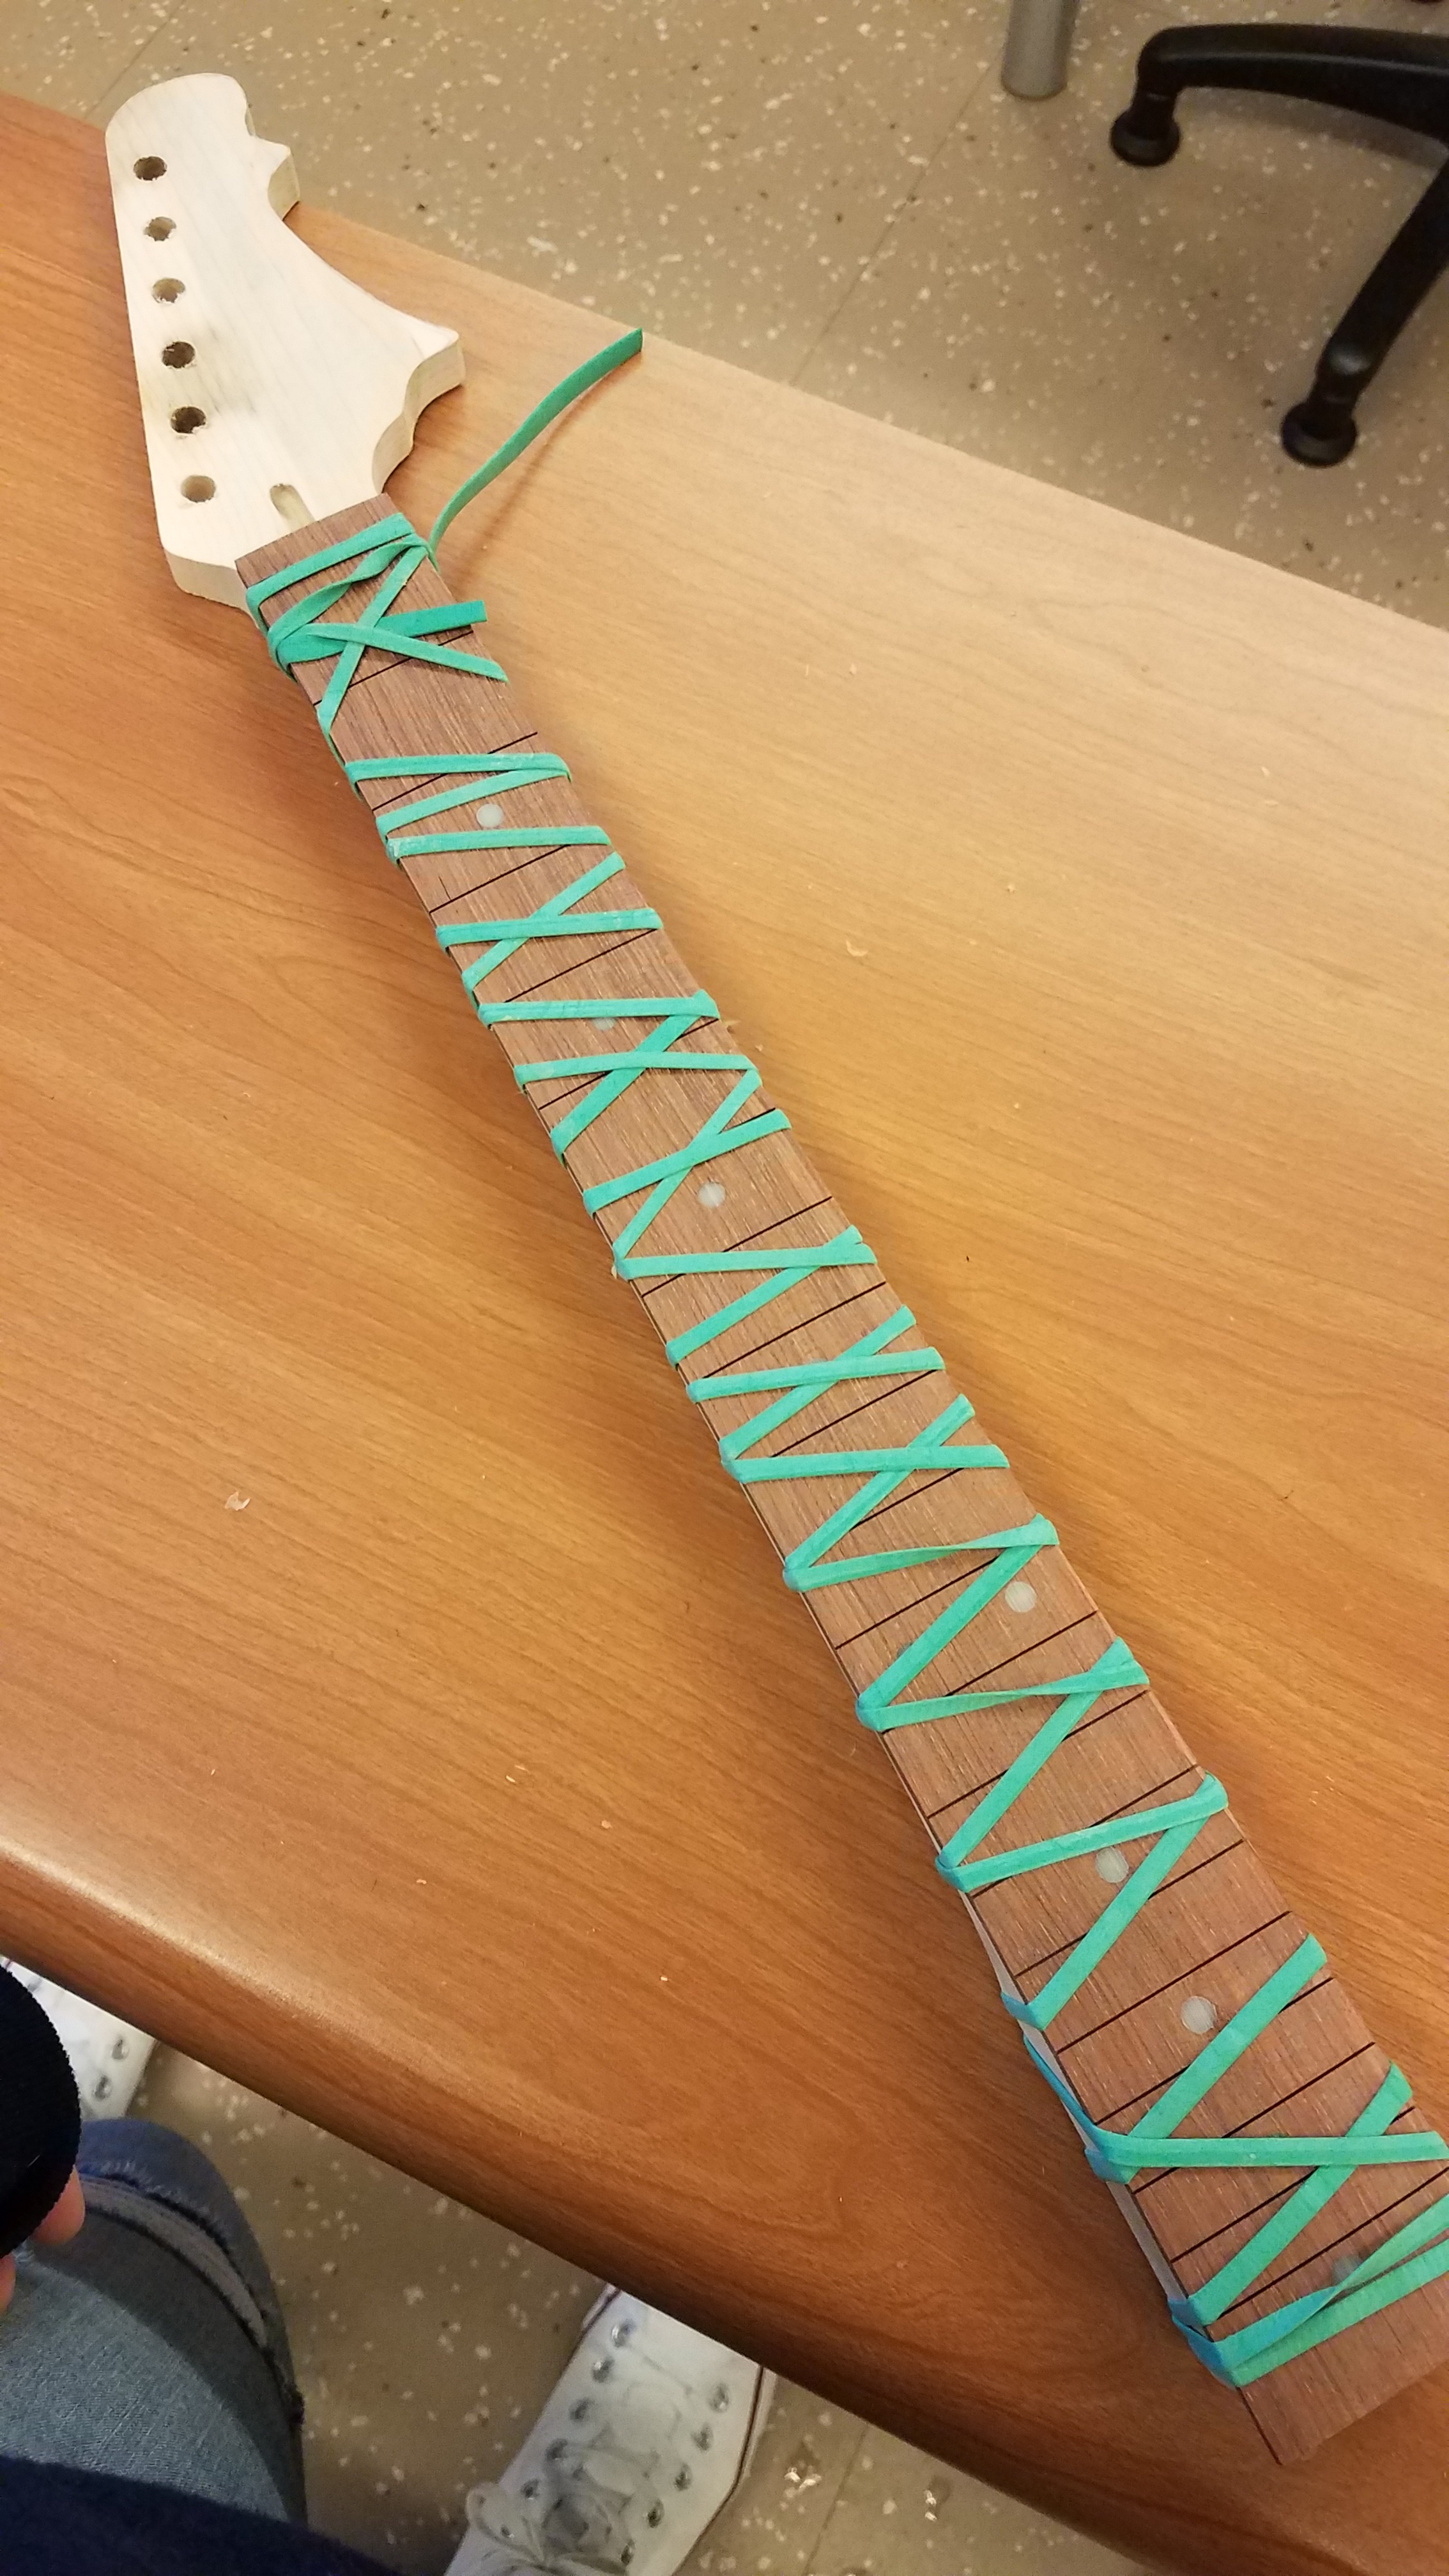
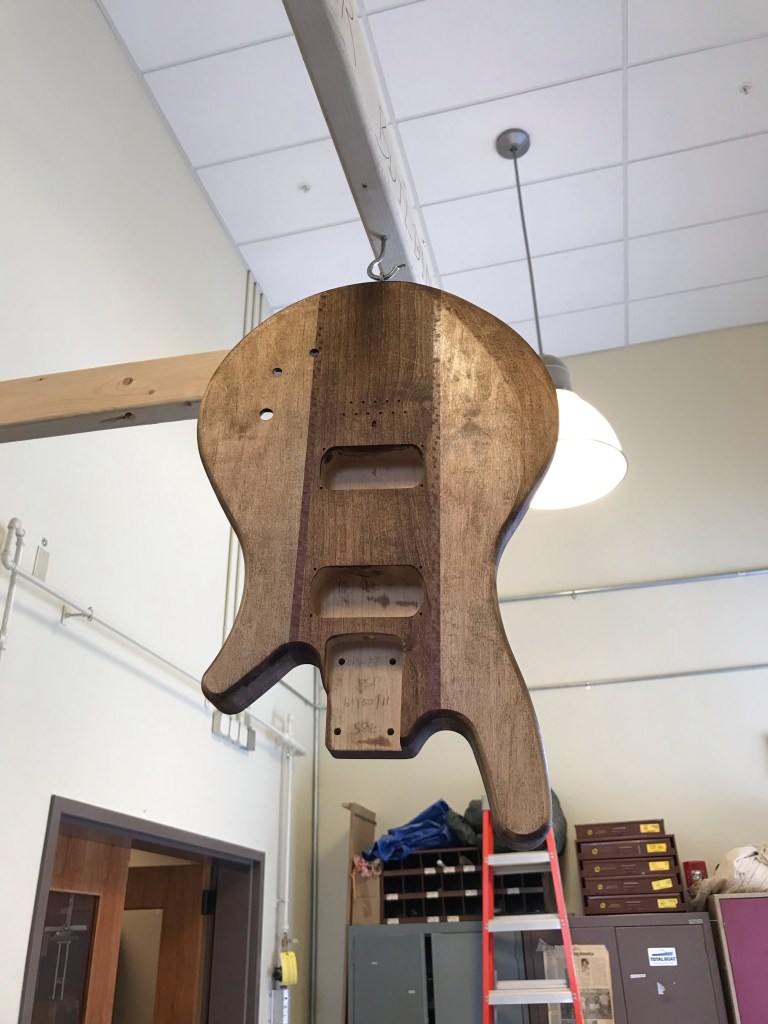
This week I stained my guitar using a very pretty colored stain I brought from home. I also put 2 coats of sanding sealer to the neck of my guitar and then I put that same sanding sealer, just without water, on just the face of the headstock of my guitar neck to make it smooth enough to put a logo on it. After I put. The stain on my ultra body, I put a layer of sanding sealer to seal everything in. I learned what sanding sealer does and how it works to keep the little fibers of wood from making our guitars fuzzy.

Week #10

This week I connected the output jack to the rest of the electronics. I soldered the out put jack to ground and to the volume potentiometer. After I was able to test it on the map and it worked. It was cool using a tuning fork to make the pickups work. I learned that the reason that the output jack is connected to the volume is because it uses the little wiper to create the sound and the output jack is just connecting it to the amp.

Week #9

This week we did a lot of stuff that has to do with the electrical parts of the guitar. First we wrote out a diagram to know what connects to what, and then we set them up on a piece of paper to see what it would look like with all the parts. We then started soldering. We poked holes in our little box of goodies using our guitar as a guide. We set up the potentiometers and the 3 way switch and we started soldering. I learned that to make the wires cooperate better when soldering them we have to tin them, which means giving them a thin coat of the solder and it helps them to stick to whatever we ut them on.

week #8

This week I drilled the hole for the output jack using a drill with a forstner bit that was 7/8 of an inch. I also did some experimenting with the potentiometer to investigate the functionality that will be used in our volume and tone controls. I also assembled the pickups which wasn’t that hard; just screwing in a screw with a spring to it. I learned what a potentiometer is and what it does.

Week #7

This week I did body contouring. I used the rounding table to round the edges of my guitar to make it more rounded. I also created a forearm rest on my guitar using filer and then sanded it down with an orbital sander. I learned that you have to feed the guitar against the rounding bit so it doesn’t get flung off the table

Week #5

This week I pressed the frets into my fretboard. My fretboard was being difficult so I had to mallet the frets in a little bit before I pressed them in using the drill press. After that I started sanding the sides of the frets to fill down the fret pieces hanging off the sides. I learned that the wood of my fretboard is a very hard wood.

Week 4

This week i put on the side dot inlays and i sanded the back of the neck and the fretboard. I used a hand drill with a 5/64s drill bit and drilled in about an 8th of an inch into the side of the neck. To sand the neck i used 80 grit sandpaper to shape the transition from the back of the neck to the fretboard. To sand the fretboard i used 220 and 400 on the sanding beam and then to make the fretboard really smooth and get rid of all the scratches from the larger grit sand paper i used 600, 1000, and 2000 grit sand paper which made my fretboard extremly smooth. I learned that the acetone lifted the fine dust off of the face of my guitar.

Week 3

This week I glued the fret dots in my fretboard and i glued the fretboard to the neck of my guitar. First i drilled the holes in my fretboard using a 1/4 inch Fostner bit and then i used the fret dots and glued them into the holes. For gluing the fretboard to the neck, i had to put a rod in my guitar that will help when we put the strings on the guitar, then i put glue on the neck of the guitar and i put the fretboard on. To make sure the fretboad stayed in place we wrapped it really tight with a rubber band. I learned how to use a drill press.

week 2

This week i did a few things. I sanded my fretboard, made indents for where the octave dots are gonna go, and i drilled where the electric holes are supposed to go in my guitar. For sanding the fretboard i had to tape it to a board and then i had to sand the fretboard down to a 12 inch radius so that the strings won’t hit the fret board. For the electric holes i had to use 2 different drill bits. I used the bigger one to drill a hole right through the top and the 2 section things in my guitar and i used the smaller one to drill a little hole going into one of the section things in my guitar. I learned that it takes a long time to sand a fretboard down by hand.

Design a site like this with WordPress.com
Get started