Be yourself; Everyone else is already taken.
— Oscar Wilde.
This is the first post on my new blog. I’m just getting this new blog going, so stay tuned for more. Subscribe below to get notified when I post new updates.
Be yourself; Everyone else is already taken.
— Oscar Wilde.
This is the first post on my new blog. I’m just getting this new blog going, so stay tuned for more. Subscribe below to get notified when I post new updates.
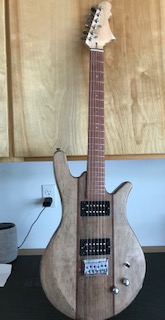
I finished my guitar and did the intonation and put on the nobs for the volume and tone. The thing that i didnt do was put the coverplate on because my guitar is having an issue when i plug it into the amp, so ill have to maybe look at that and figure it out, but other than that the guitar looks and is really cool. This was a very fun class to take and im glad i took it because i learned a lot from it.
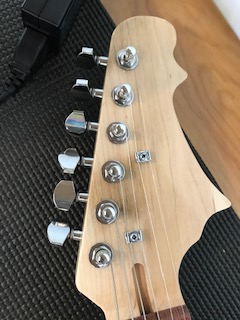
This week i put the strings on my guitar and put the string trees on. I thought putting the strings on would be harder than it actually was. I like that i have an actual like guitar now and not just the parts.
This week i installed the pickups and soldered all the wiring. I also put the tuning machines on as well. I learned that doing pre intonation made it easier when we do the intonation because then we wont have to make major adjustments. I ran into a couple of difficulties, like for the neck pickup, the screws holding the pickup on the plate were too long so i had to drill 2 holes so that the pickup would fit. Other than that building the guitar has been pretty fun.
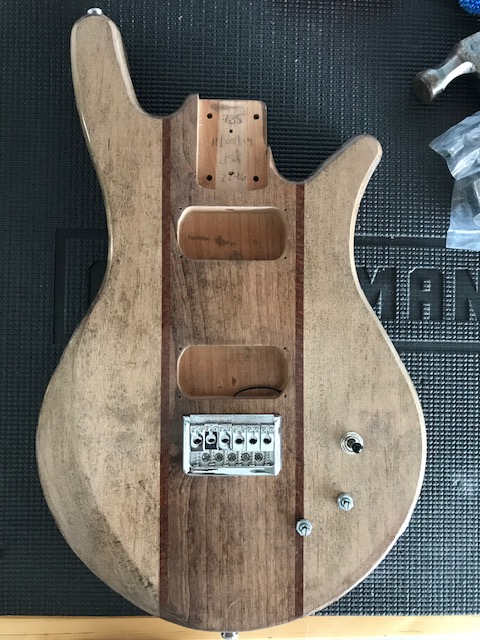
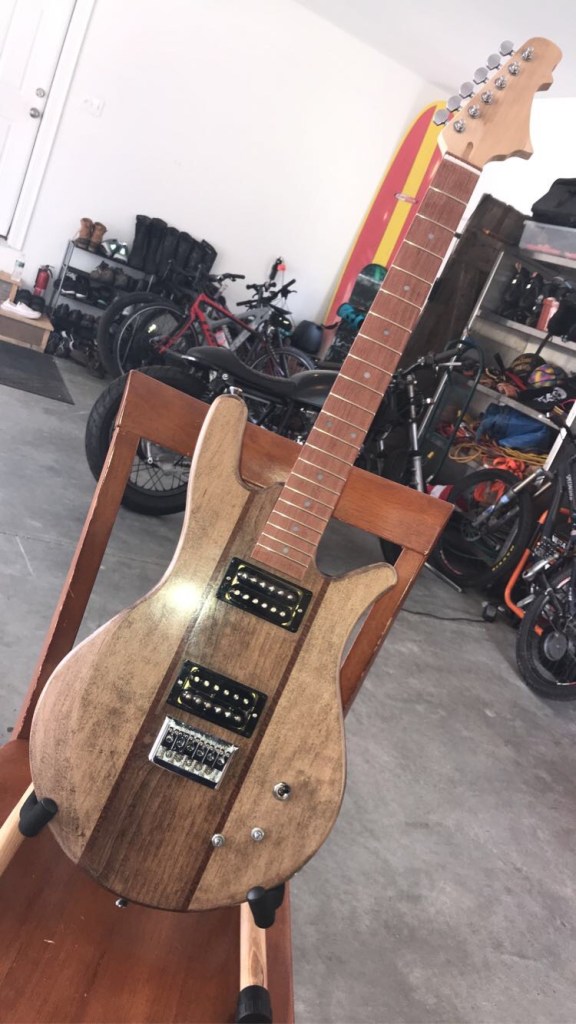
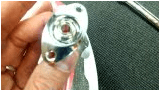
This week i started building my guitar. I sanded the guitar body and neck with 600, 1000, 2000, and 3000 grit sandpaper along with polishing the guitar. I then hammered the string ferrules in on the back. Next i put on my strap buttons and then i put on the bridge and ground. Next i put on the wiring harness which really made the guitar look cool because you can see the switch and the tone and volume knobs. Lastly i put on the output jack. I learned that you have to be very careful with the wiring harness so the soldering joints dont fall off.
This week we watched a few videos and one of them was sanding the clear coat down on our whole guitar, neck and all. We have to use a sanding block when we do it and it takes a lot of sanding. Another video we watched was how to put the output jack in and make sure everything fits. Like before you screw anything in you have to make sure the instrument cord can fit in the output jack without touching any bare wires.
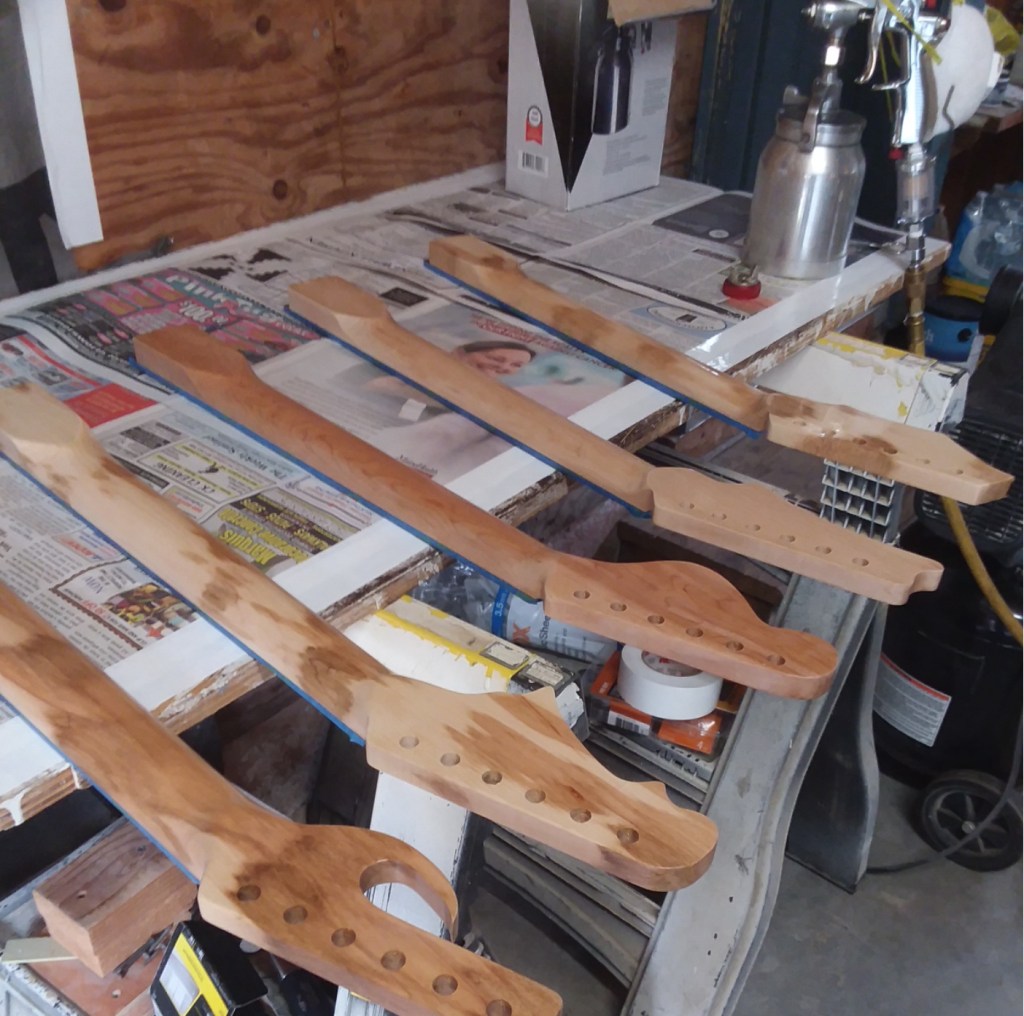
This week( technically 2 weeks ago i believe) we watched a bunch of videos on the assembly of the guitar. One of the videos was teaching us how to put the bridge on and ground the wire that goes under the bridge. For that you’re supposed to have a long wire and strip one side of it more than you normally would and then put the wire through the little hole we drilled in the guitar at the beginning of the year and then split the longer striped part of the wire into 2 parts and try to make it as flat to the body of the guitar as you can, and then put the bridge down and screw it in. We also were able to get our guitars this week and can start working on them. The neck and body of my guitar is getting clear coated this week.
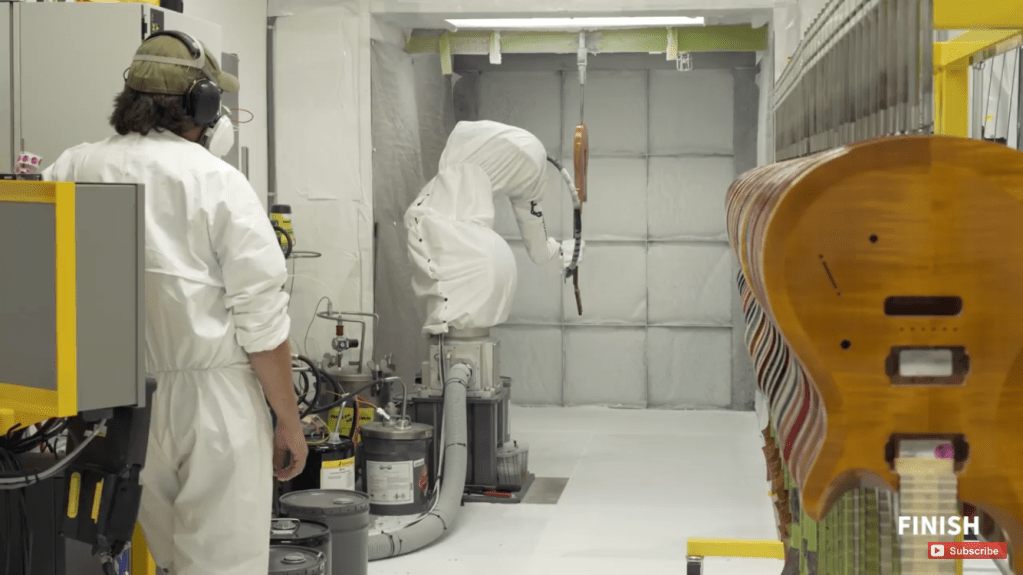
This week we watched a cool video of a tour of the PRS guitar factory. I liked being able to see all the intricate hard work that they put into each guitar. One thing that was really cool was the robot arm spraying on the finish so that it would be put on in one even coat. Something that i didnt know was that when making guitars its not just all a machine doing the work, its probably a pretty even human work to machine work ratio, If not a little more hands on work then machine work.
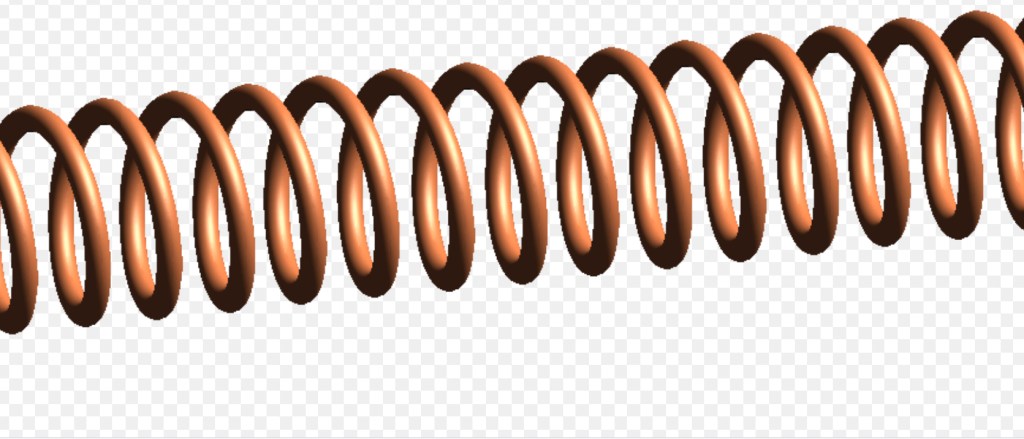
This week we learned about solenoids. They were kind of confusing but if I remember correctly a solenoid is a type of electromagnet that is a coil and its purpose is to generate a controlled magnetic field. One thing we did was watch this video of a news guy and a science guy who put a straight line of the solenoid and try to play music with it but it didn’t come out that clear, but when he made the coil the music was loud and clear for you to hear it.
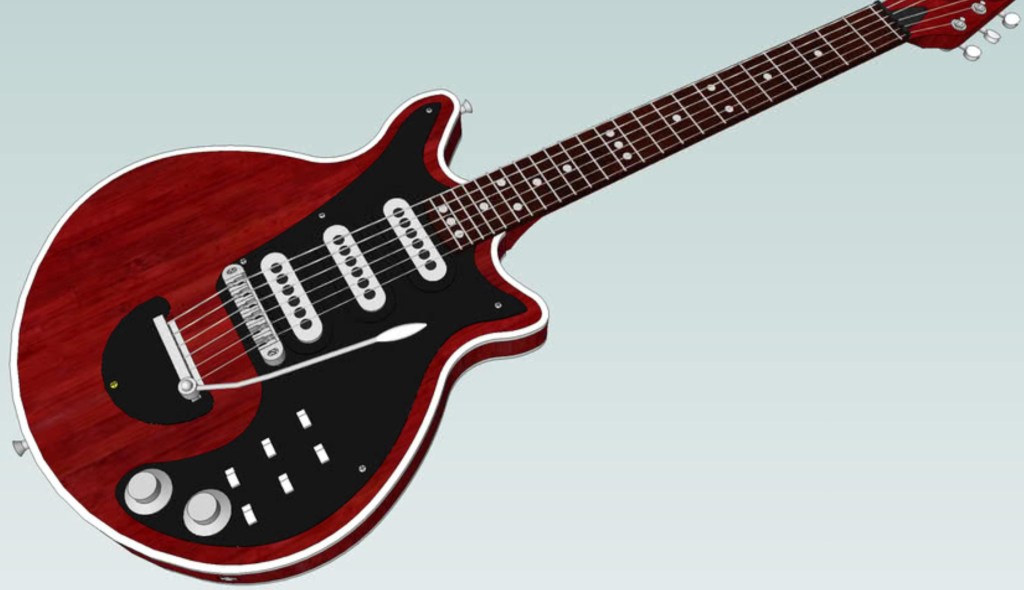
This week we learned about Brian May who is the lead guitarist to Queen. I learned that he made a guitar when he was younger just out of some rough scraps around his house, specifically the neck of the guitar. In one of the videos we watched i learned about all the different. Switches on the guitar and why he did it that way, also i learned what zero fret is and how it helps reduce friction.
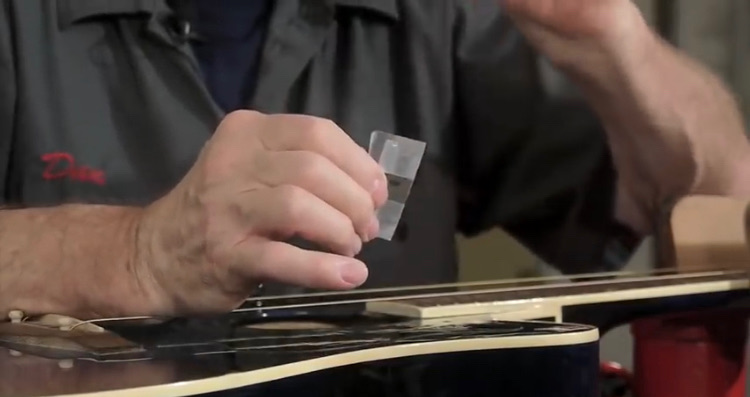
This week we watched videos on how to spray paint a guitar, how to fix the small chips in a guitar, and how to level sand and buff a clear coat finish on a guitar body. What I’ve learned from the three videos is that you can fix any little chip or dink in the guitar body. i learned that you can adjust the nozzle of a spray paint bottle to to other spray diagonally or horizontally. Lastly i learned that to level sand and buff a clear coat finish on a guitar body that it takes lot of sandpaper and a lot of precision and time. Watching all these videos makes me want to work on my guitar 😂
